a sustainable crocheted sponge for all your cleaning needs! i designed this sponge to replace the green & yellow plastic ones i was always buying and then throwing away. i wanted something that was either recyclable or compostable and that would last longer than the typical disposable sponge.
this sponge can be made with 100% cotton yarn and twine, which means it’s not only fabric recyclable, but it’s also compostable! not to mention that you can simply throw it in the washing machine and dryer to clean it every once in a while.
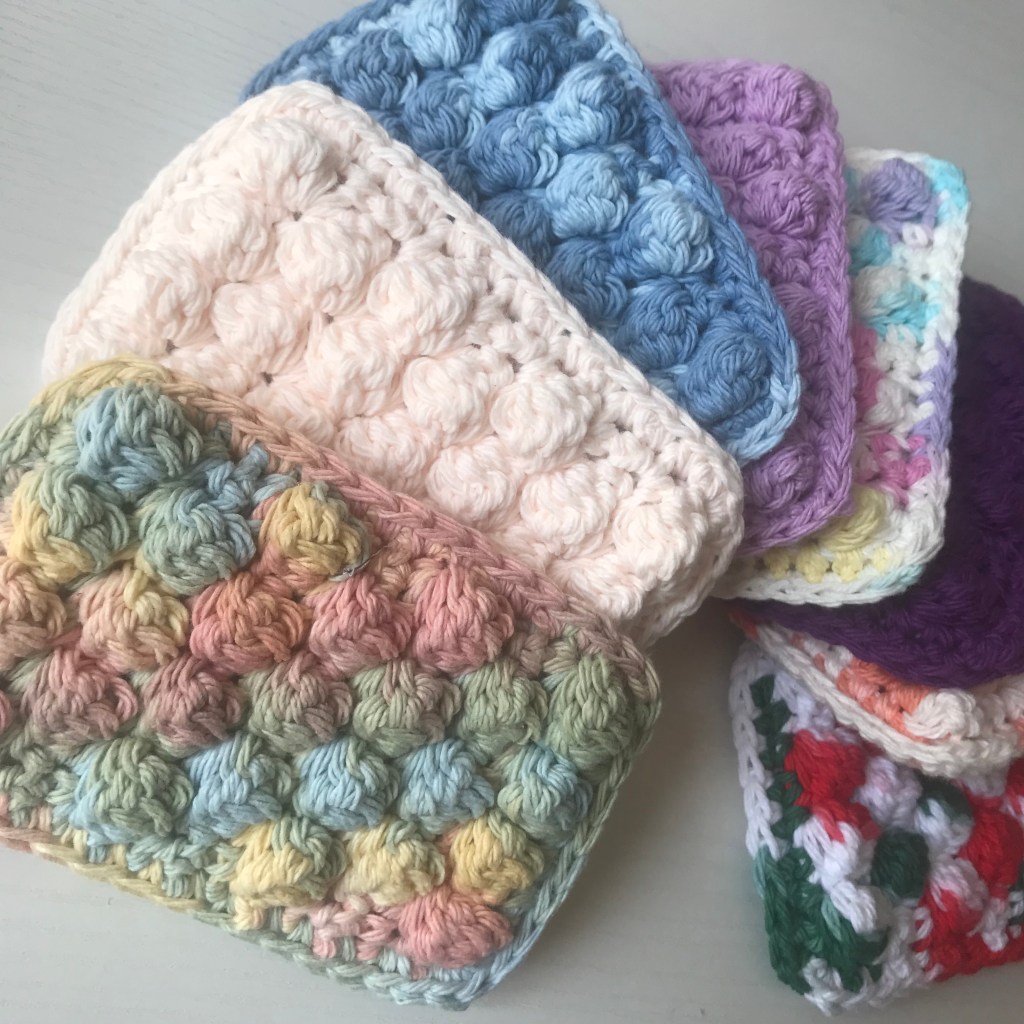
notes
materials
- 20 yards of a worsted weight yarn
- 12 yards of a 2mm, 3-strand twisted twine
- a US H8 / 5mm crochet hook
abbreviations
st – stitch
ch – chain
sc – single crochet
bobble – bobble stitch
bobble stitch
Step 1: Yarn over, insert hook into stitch and pull yarn through, yarn over and pull through first 2 loops.
Step 2: Repeat Step 1 3 more times (in the same stitch), for a total of 5 loops on your hook.
Step 3: Yarn over and pull through all 5 loops.
Follow me on IG @freeknittingpatternz for more free knitting patterns (and crochet)!!
pattern
scrubby side
With twine, create a slip knot and chain 10 stitches.
Row 1: Insert hook into the 4th chain stitch from the end and work 1 single crochet into this stitch. Chain 1, skip 1 stitch, and work 1 single crochet into the next stitch. Repeat this step 2 more times—you should end up with a sc in the final stitch from your original chain of 10. Chain 2 (counts as chain space) and turn your work.
Row 2: Insert hook into the 1 st chain space on this row, created by the ch 1 on the previous row, and sc. Ch 1, skip 1 stitch, sc into the next chain space. Repeat 2 more times. Ch 2 and turn your work. | 4ch spaces and 4 scs total
Repeat Row 2 10 more times, until you have 12 rows in total.
Row 13: Work the same as Row 2, until you get to the final chain space. Ch 1 and sc into this chain space again.
Going down the left side of the rectangle, sc 1 into every row. When you reach a corner, (sc, ch 1, sc) into that space. Going across the bottom of the rectangle, sc 1 into each stitch or chain space. Repeat the procedure for the corner space. Continue this up the right side of the rectangle and then across the top. Once you reach the corner space you worked in Row 13, work one slip stitch into the chain space, secure the twine, and cut.
Weave in both ends.
absorbent side
With yarn, create a slip knot and chain 10 stitches.
Row 1: Insert hook into the 2nd chain from the end and work 1 single crochet into this stitch. Sc into each stitch—you will end up with 9 stitches. Chain 1 and turn your work.
Row 2: *sc, bobble, repeat from * until 1 stitch remains, sc, ch 1 and turn work | 4 bobbles total
Row 3: sc into each stitch, ch 1 and turn work
Row 4: sc, *sc, bobble, repeat from * until 2 stitches remain, sc 2, ch 1 and turn work | 3 bobbles total
Row 5: repeat Row 3
Repeat Rows 2 – 5 2 more times, until you have 13 rows in total (6 rows of bobbles). Repeat Rows 2 & 3 1 more time, for a total of 15 rows (7 rows of bobbles). However, on the final row, do not ch 1 and turn work. Without cutting the yarn, weave in the first end.
joining the sides
Line up the two rectangles and work 3 single crochets into the corner stitch, joining the two sides. IMPORTANT: Only work through the back loop (which is actually the loop closest to you) of the twine side. Going down the left side, work 1 sc into each stitch to keep joining the sides. Continue around the rest of the sponge, working 3 scs into each corner stitch as you encounter them. Don’t worry if the stitches don’t match up one-to-one—you can fudge a couple to make it work! When you reach the corner stitch you began at, slip stitch into the first sc you made (yarn side only), secure the yarn, and cut.
Weave in the final end.
how to care for your sponge
- when not in use, keep sponge elevated to allow excess moisture to evaporate
- machine wash and dry regularly
- when sponge is on its last legs, either fabric recycle or compost it

